Using Digital Performer
Controlling Digital Performer - the control window


Play, stop, and rewind (just like a CD player)

Control the speed of your composition

This will turn on and off the loop - it will be helpful when you mix down
your project

Location is broken down into measure | beat | subdivision
Subdivision refers to small sections of the beat. The beat is divided
into 480 counts, so...
-120 = sixteenth note
-240 = eighth note
-360 = 3rd sixteenth note
-(0, 160, and 320 would be eighth note triplets)
The main window - the track window


These are the MIDI tracks. Clicking on the name can change MIDI channel
and instrument.

These are the audio tracks.

Here you can assign a name to both the MIDI and audio tracks. Hold the
command key and click on the name to change it.

If you have an input devise such as a MIDI keyboard, vocals, or a musical
instrument, you can click on the record button for the track you want
to record on.

These are the measures for each track. From here you can see what tracks
have information in them. By selecting a measure, you can edit it in one
of many editors that you are about to see. If you want to add an audio
sound file make sure that it is an "aif" sound file. If it isn't,
use quicktime to convert it to an "aif" sound file. Once you
have an "aif" sound file, drag it onto an audio track.
The sequence editor - Here is where you can quickly make changes and add data to all of the tracks.
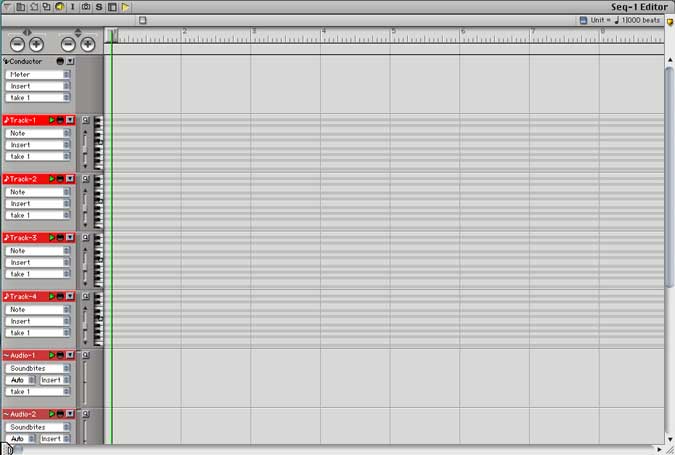
Each MIDI track has a small piano keyboard on its side. The audio tracks
are below the MIDI tracks. If you have audio in any of the audio tracks,
you can drag them to fit the tempo of your piece. If you want to add MIDI
notes to any MIDI track, click on the pencil and draw the note you want.
You will be able to hear the sound as you draw.
The drum editor - this can be used to quickly add MIDI percussion parts.


You must assign the notes you want the drums to play. Example: C1 = Bass
drum, D1=snare drum, etc...

Changing this view will let you add shorter and longer notes.
The events list - this shows you all data for a given track in a list form. Use this window to set the MIDI instrument you want. Click on the "I" and choose patch change. Choose a sound and a location for the patch change.
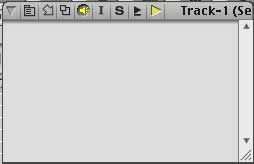
The Quick scribe editor can be used to enter notes just as you would in Finale. Click on a note and put it on the staff. Use this to edit already entered notes.
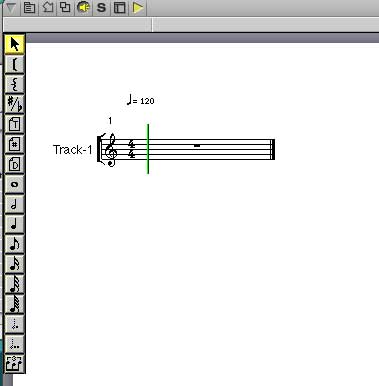
The Notation Editor. Use this view to add new notes. Click on the pencil and draw the note in the location you want it. By clicking and dragging you can increase the length of the note.
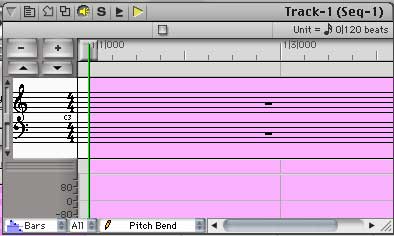
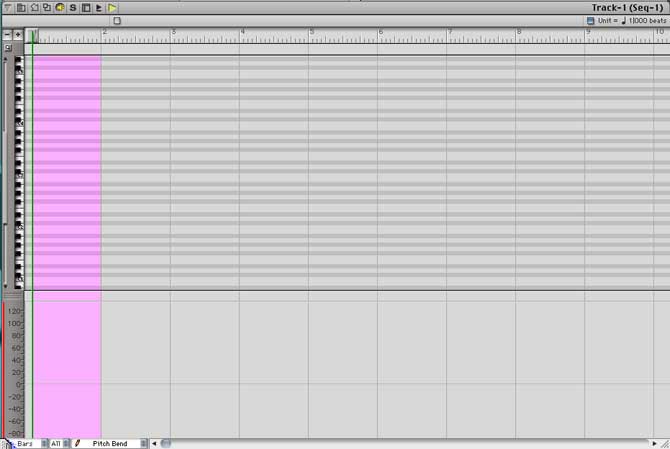
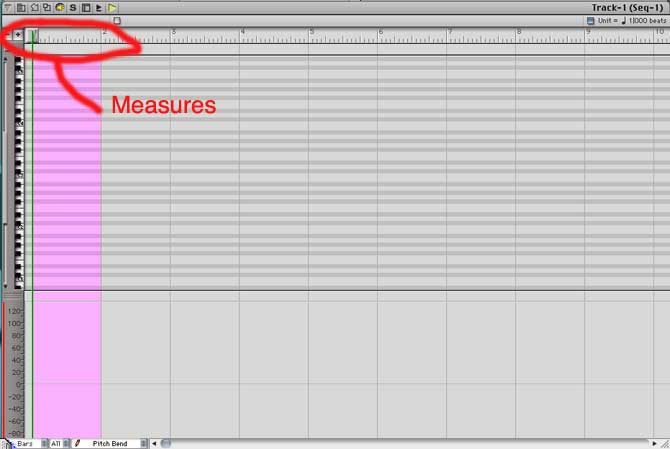
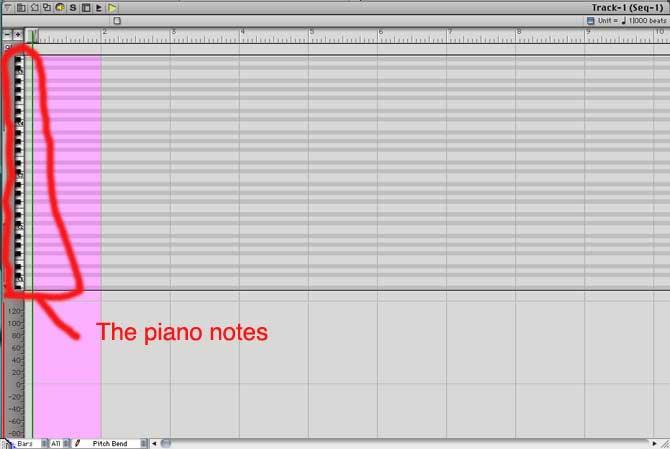
The graphic editor window. Use this window to add MIDI notes. To add notes, click on the pencil and draw a note. You will be able to hear the note you are drawing.
The mixer window. Use this window to make all of your sounds blend. You can make your mixer automatically move up and down while your piece plays.
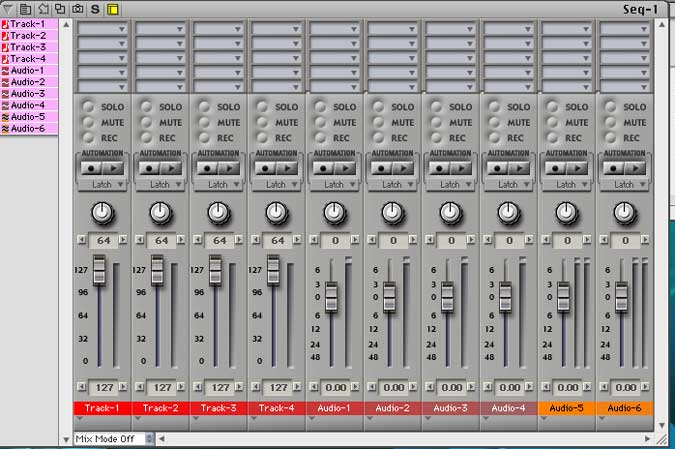
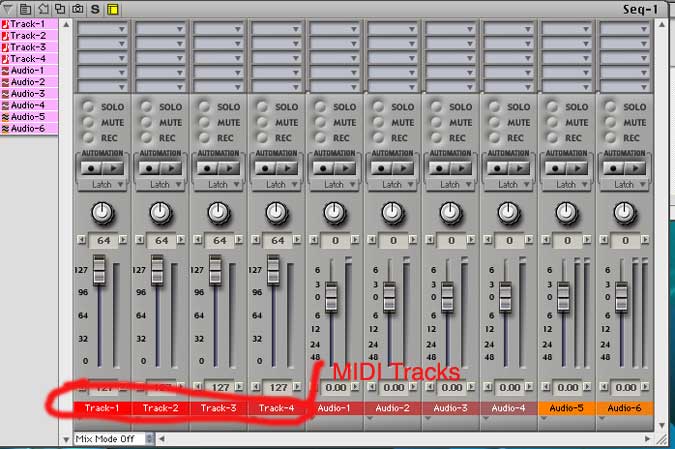
Here are your MIDI tracks.
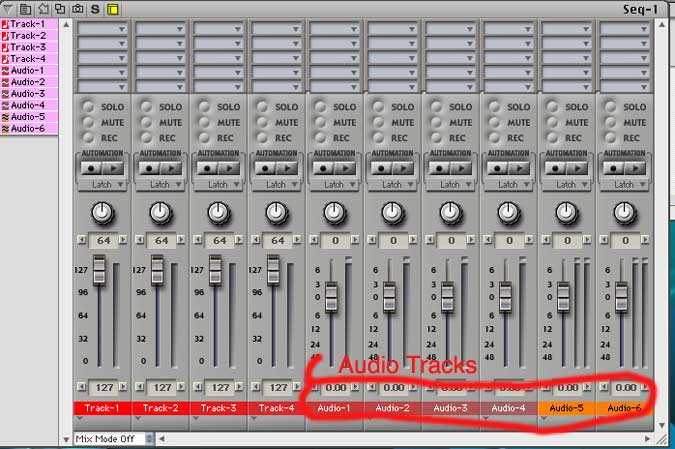
Here are your audio tracks.
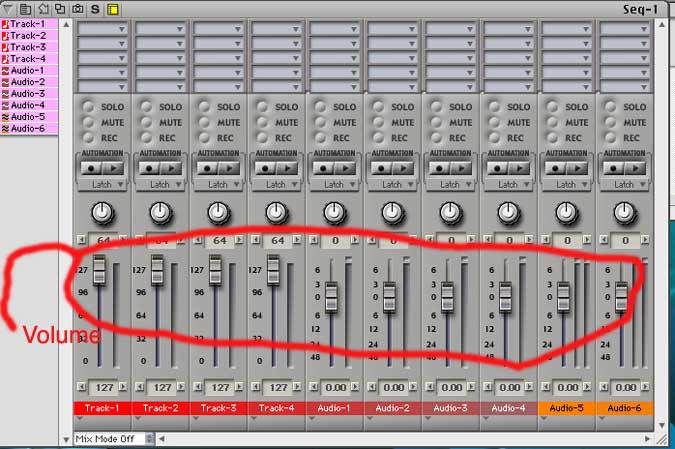
Use these sliders to change the volume of your instruments or sounds.
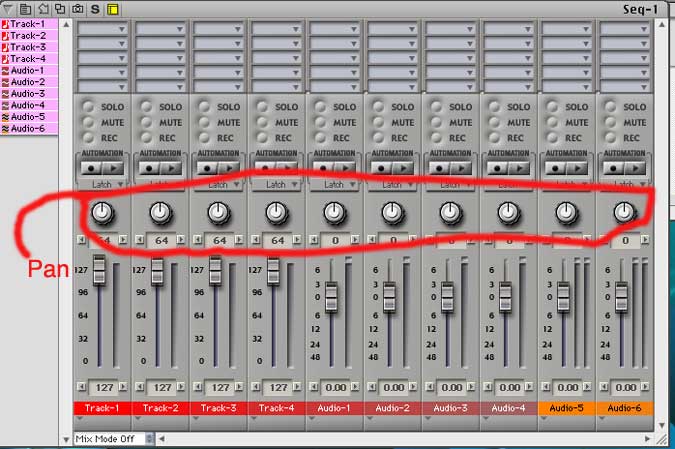
Use these knobs to move the sound left and right.
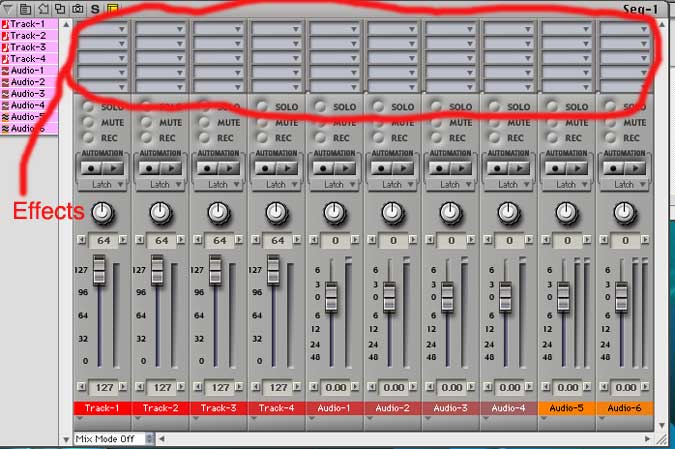
These are the effects for each track. You can have five per track. Remember
that MIDI effects are not the same as audio effects.
Digital Performer Tips:
- put each sound or instrument its own track
- convert all "wav" and "mp3" files to a mono "aif" in quicktime
- save all audio files in the audio folder
Final mixdown tips (when your song sounds finished):
- "record" all Retro and Unity sounds and drag them into an empty audio track.
- save the Digital Performer file as a standard MIDI file and convert it to an "aif" mono sound file in quicktime. Then drag it into an empty audio track.
- select all used audio tracks and "bounce to disk" - use the mono sound file with -3db atenuation